Links to closed ring using rethreading technique
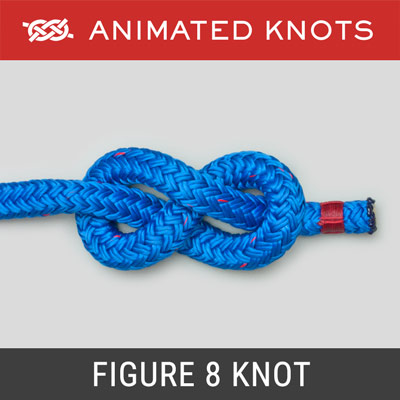
Figure 8 Follow Through Loop
Links to closed ring using rethreading technique
 |  |

1
 |  |  |
To Step use Arrow Keys ( ). Set Speed using 1 – 5.
Start by tying a loose Figure 8 knot. Pass the tail around the attachment point. Follow the original Figure 8 around the entire knot in reverse. Exit beside the standing end to complete a two stranded Figure 8 knot.
Uses: The Figure 8 Follow Through Knot allows the simple and reliable Figure 8 loop to be tied to a ring, a carabiner, or your own harness. It is reasonably easy to remember, tie, and check. When completed it forms a Figure 8 Loop (ABOK # 1047, p 190).

Warnings: For the animation, the Figure 8 Follow Through Knot is shown being tied with a short tail end. For added security – and to ensure the tail is long enough – a Stopper Knot is often tied around the standing end. The stopper knot must be tied tight against the figure 8 – to prevent a carabiner being clipped into the loop formed there.
Final Dressing: To ensure that the Figure 8 Follow Through Knot is tied correctly, it is sensible to tie it in the “Flat” form shown. However, for taking a load, this knot should be carefully dressed (Frame 10) so that the two outermost turns are brought in snug against the ropes they enclose. As a result these turns then finish on the other side of the turns they accompany. Dressed this way the knot withstands a load better.

The Figure 8 Loop Knot (On a Bight): When the finished knot can be dropped over a post, it is better to tie it using a bight instead of the end, and then just tie the knot as you would if you were tying a Figure 8 knot .

Alternative for parallel load: When the load is parallel to the rope, the Directional Figure 8 Knot is an excellent alternative.
Inspection: Ensure that there are two strands beside each other at each part of the Figure 8 Follow Through Knot. Dress the knot as described in the animation. Then, pull it and observe that it tightens neatly.